What’s New In Version 1.4
In this version, some new features have been added to make the iOS version of the app less dependent on the OSX version by allowing the iOS version to maintain priority and status values.
In addition, colors can be selected for priority and status values to make it easier to find important items on your list that need to stand out.
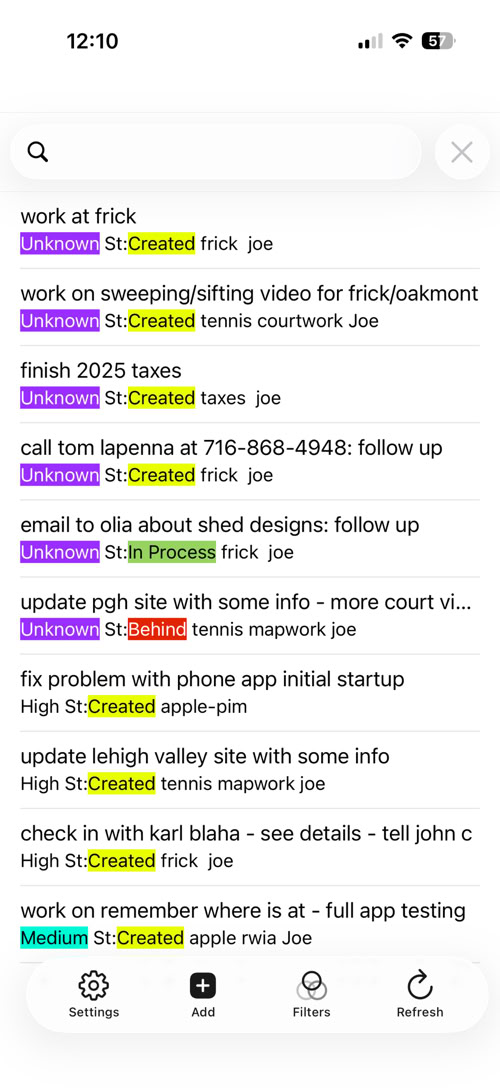
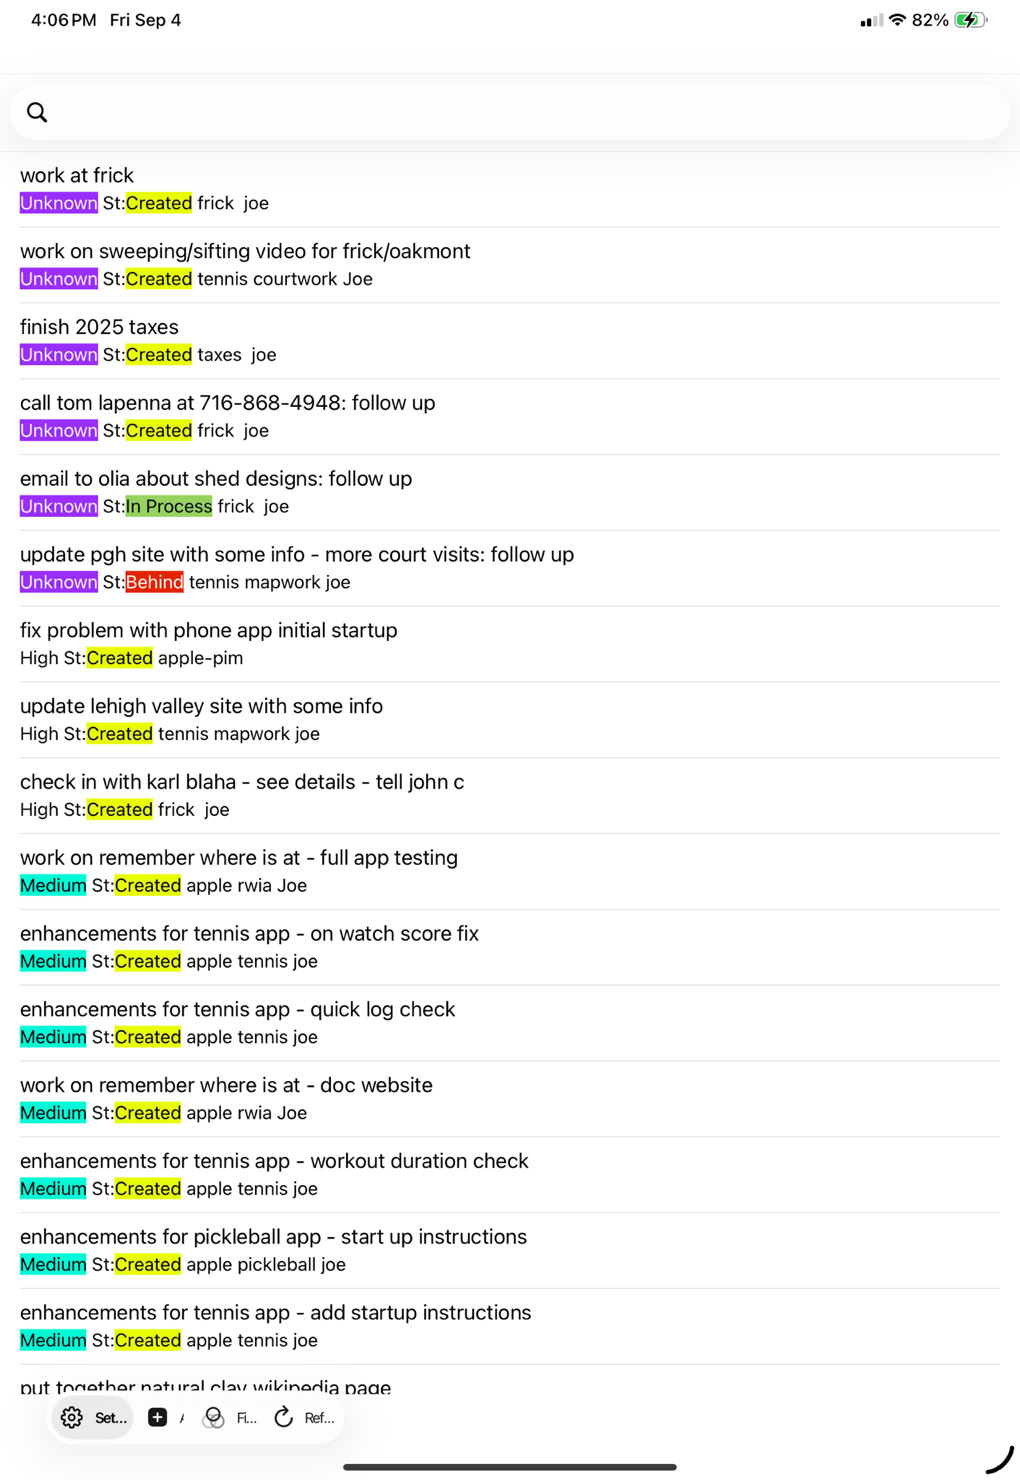
Priority/Status Entry Improvements
Instead of Priority and Status values having to be maintained on your Mac, they can now be updated directory on the iPhone/iPad app.
Go to the settings tab and now you’ll see additional entries on the screen:
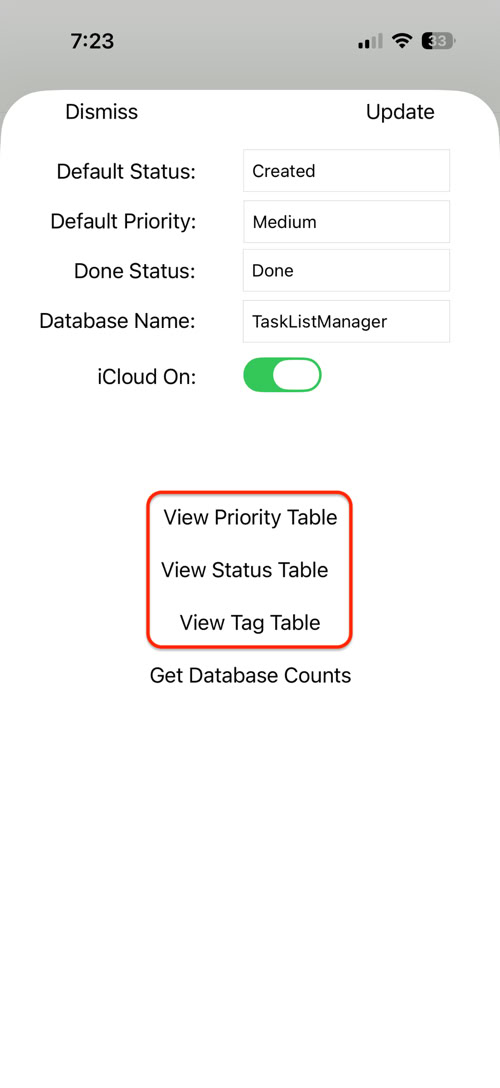
Tapping on any one of these new links will bring up the proper associated table.
We’ll use the Priority table as an example but all of them work the same. Tap on the ‘View Priority Table’ link brings up a list of the current Priority values for a sample user:
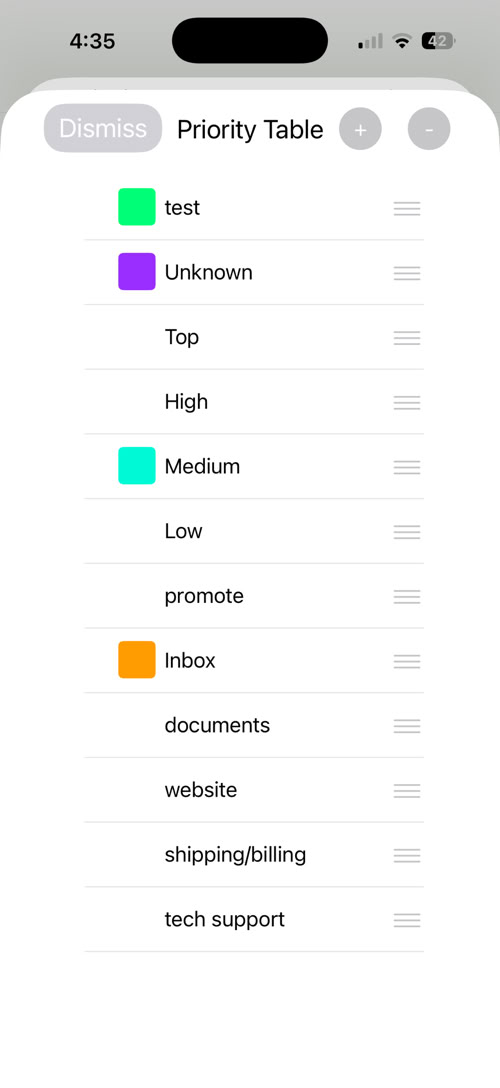
In this example, several, but not all, of the Priority values have been given a color. Tap on the ‘plus’ button to add a new Priority value
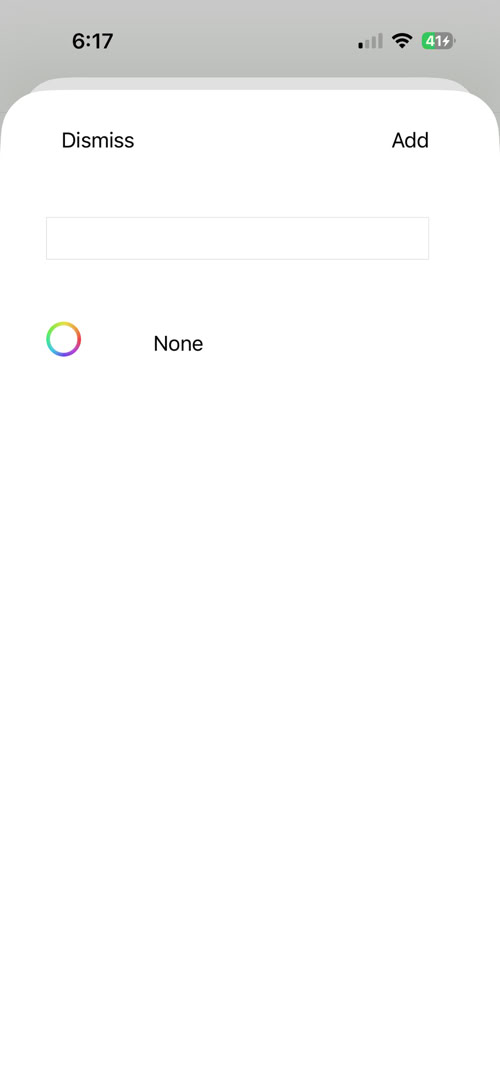
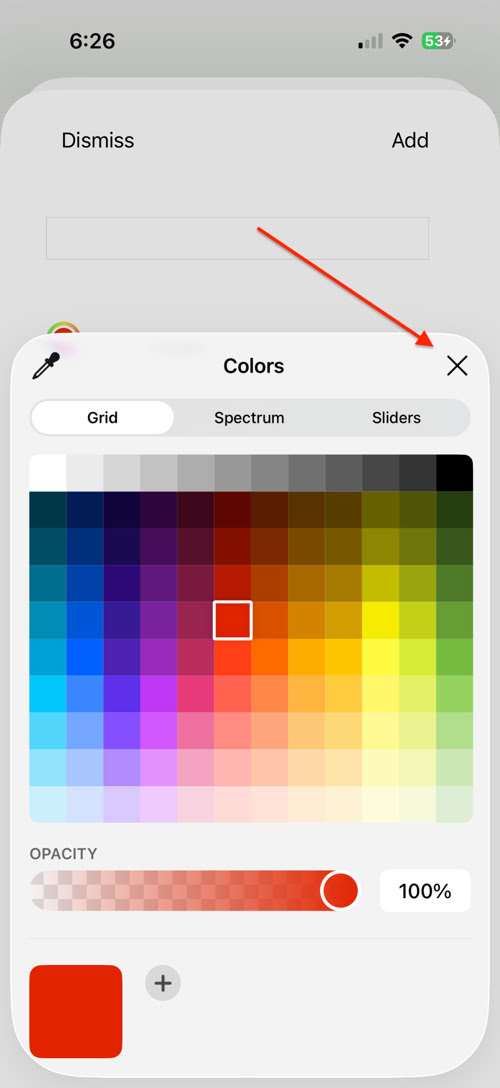
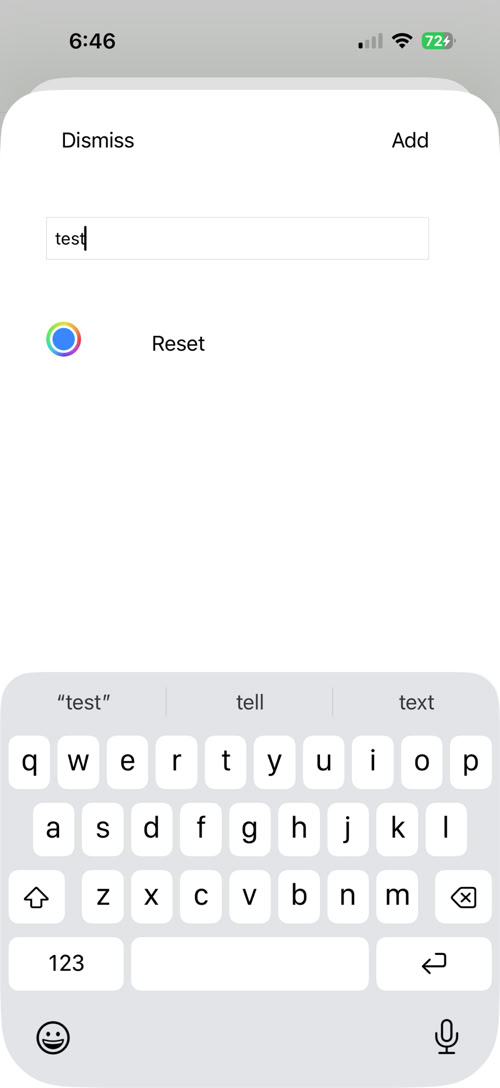
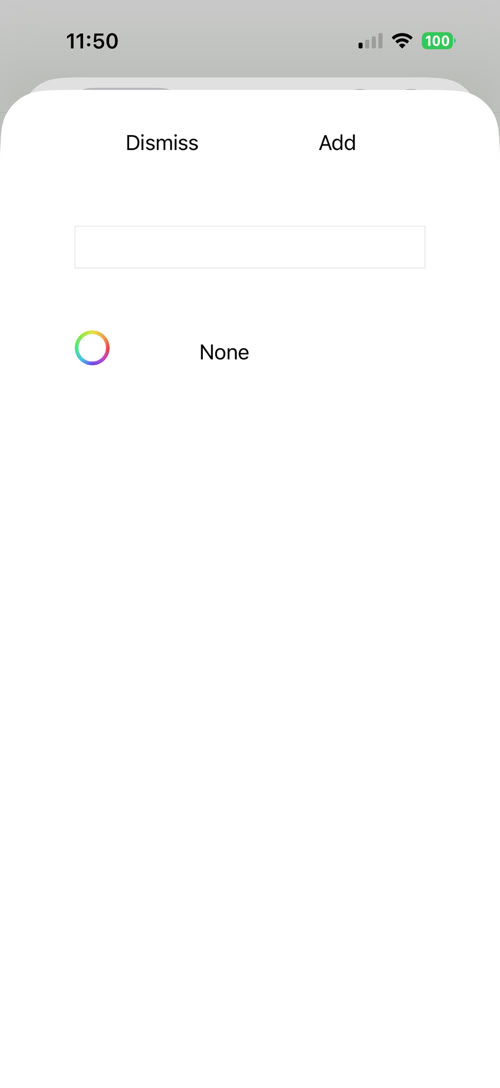
The app asks for a title for the Priority and the background color is a neutral white by default. To add a color, tap on the white circle to bring up a color picker.
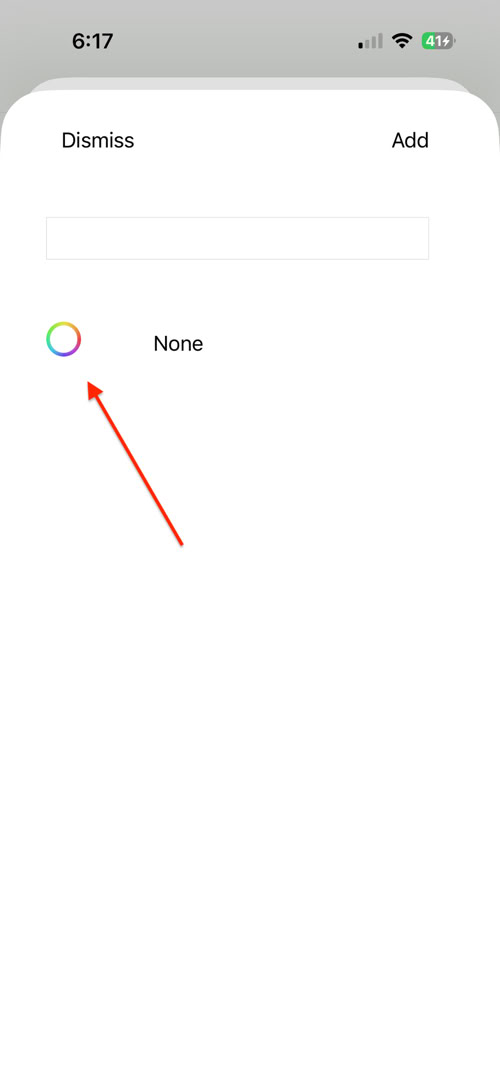
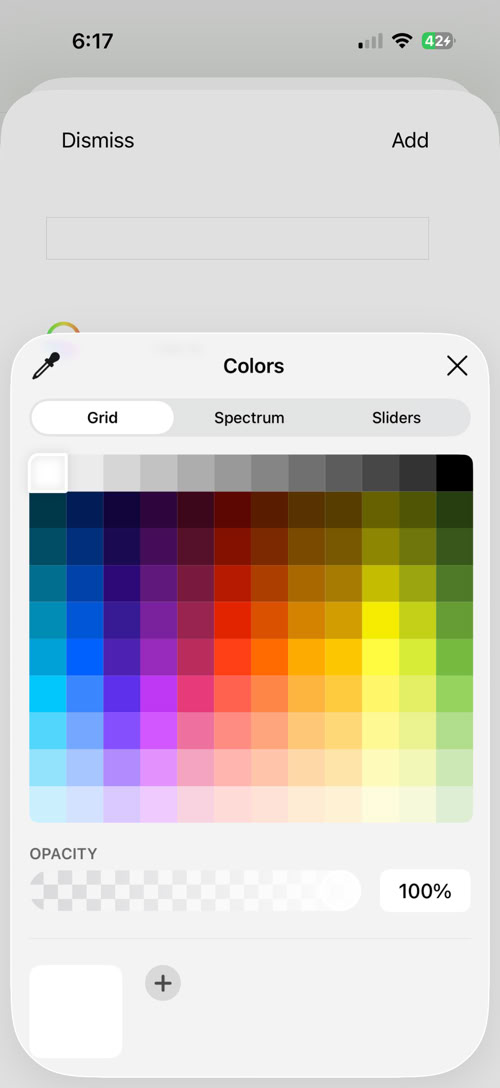
The app asks for a title for the Priority and the background color is a neutral white by default. To add a color, tap on the white circle to bring up a color picker. Then pick your color and X out of the picker. The color you selected will appear in the color dot on the screen:
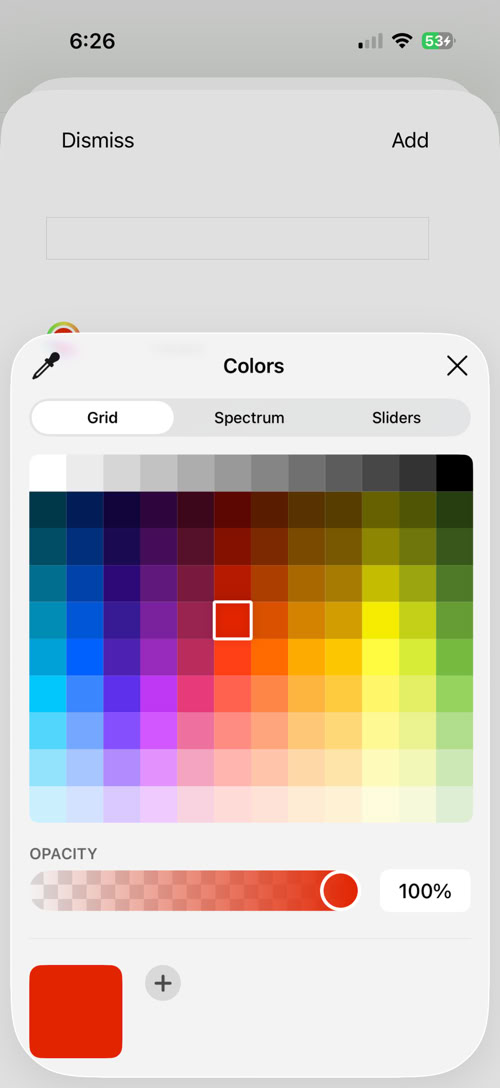
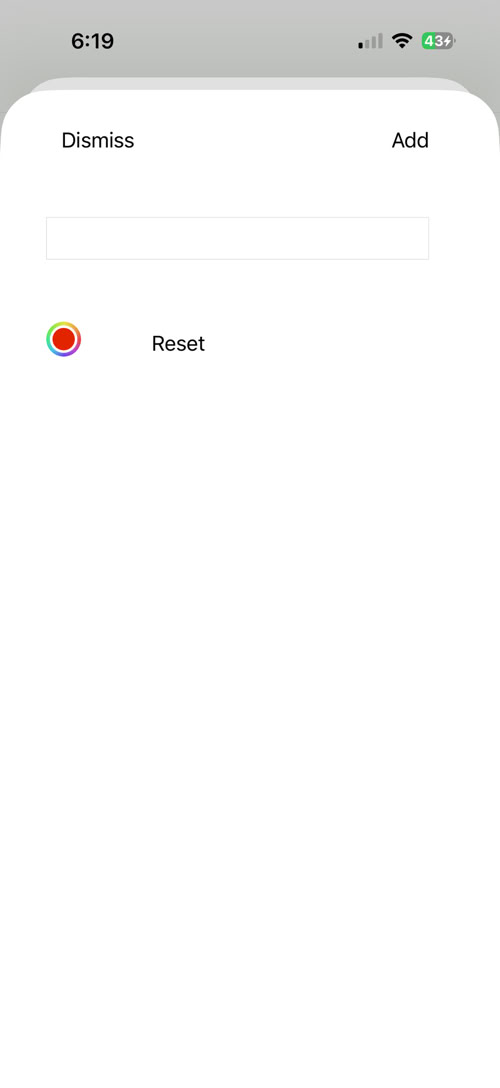
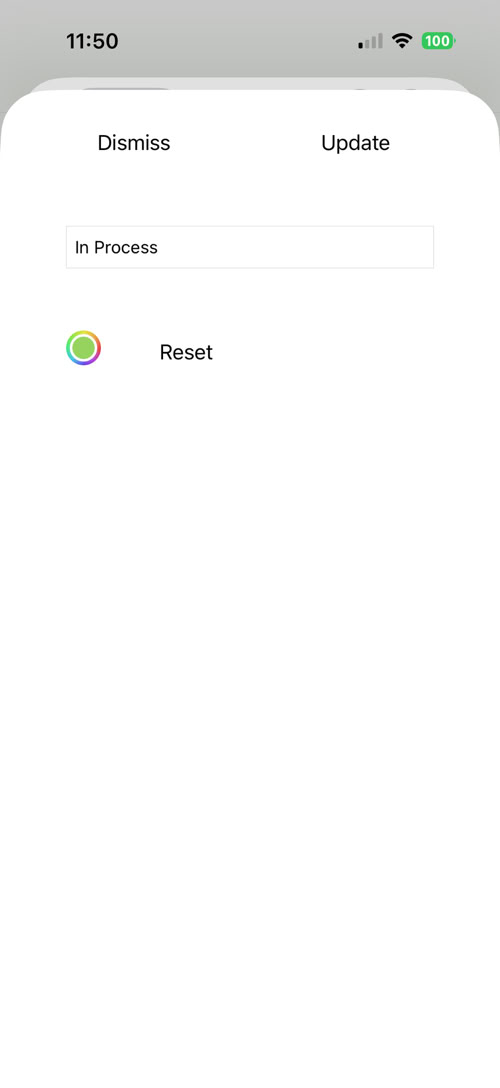
If you want to eliminate the color, press the reset button and that will change the color back to it’s generic default.
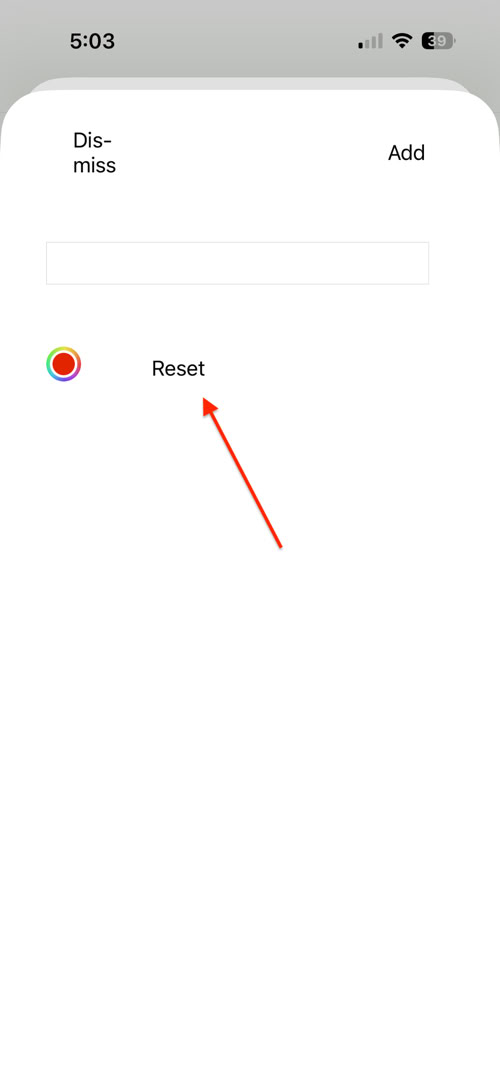
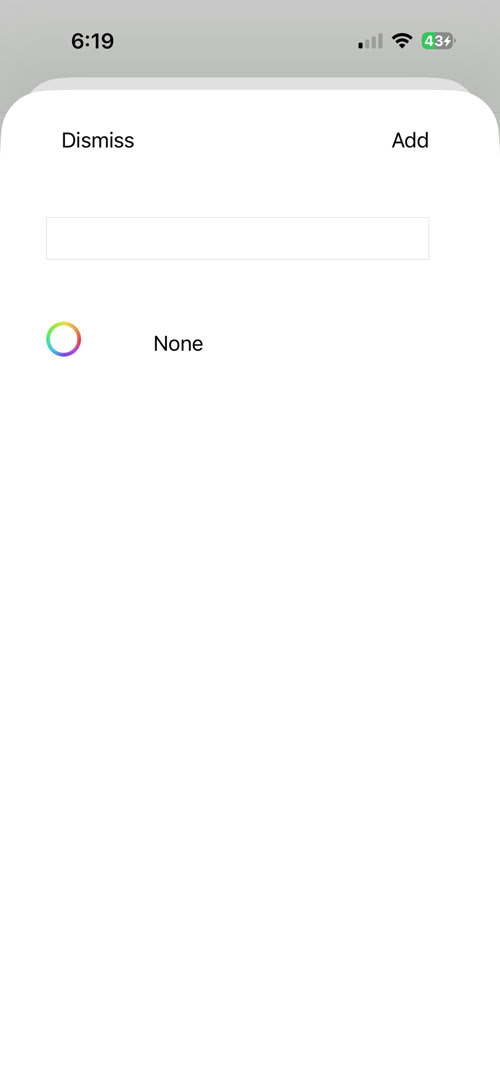
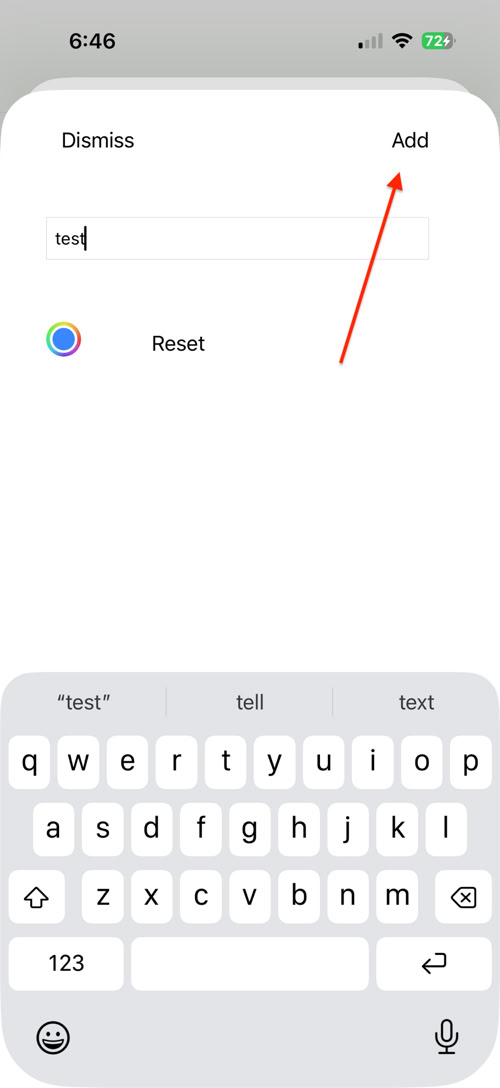
Fill in the title you want for the priority and any color you wish to use (or leave it blank if you like), press Add, and the new priority will be added to the bottom of the list. You may have to scroll to the bottom of the list if you have a lot of entries.
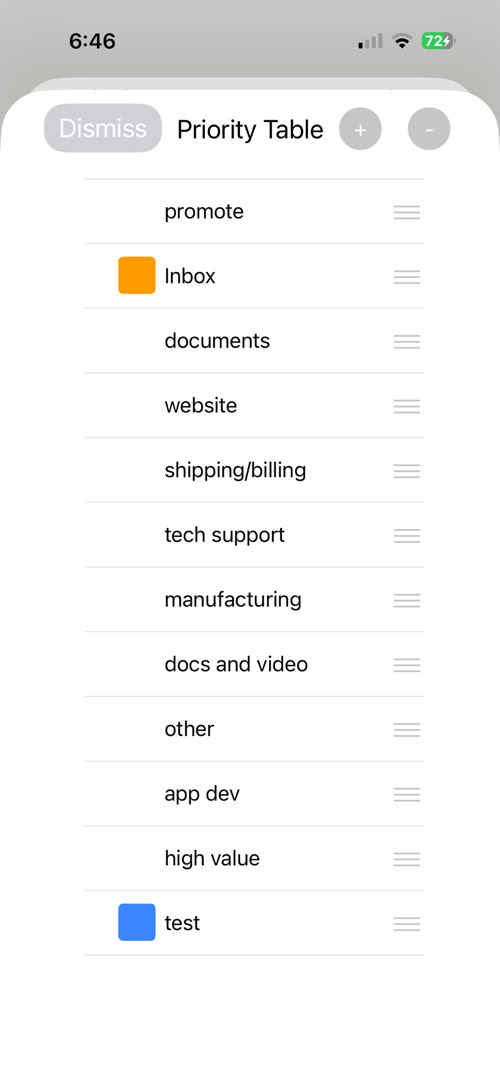
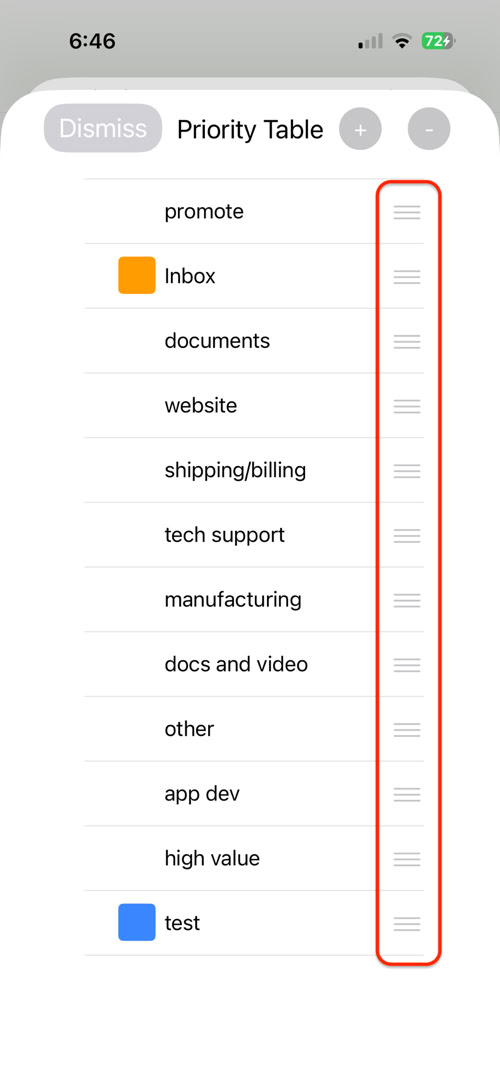
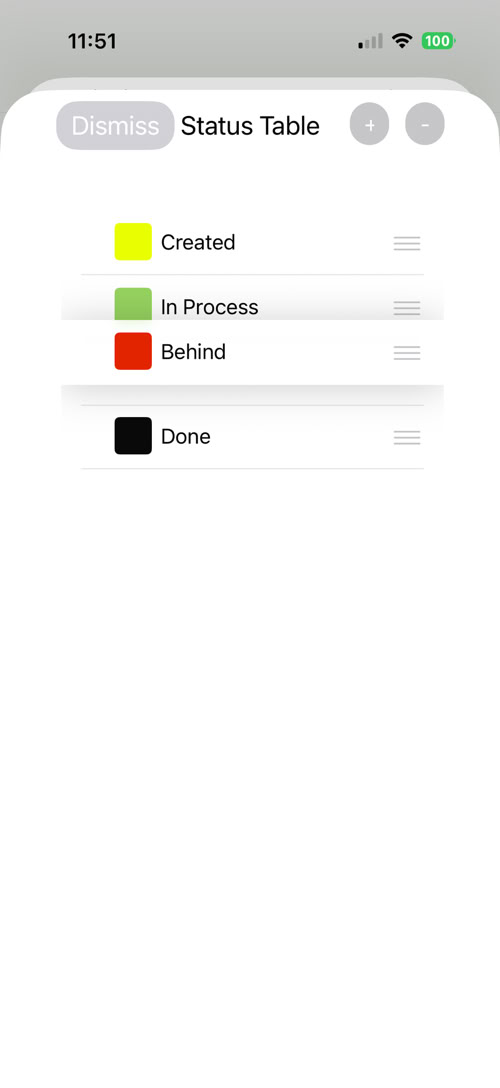
To move the new priority setting up or down within the list, press on the three lines on the right hand side and drag it to whatever position on the list you would like.
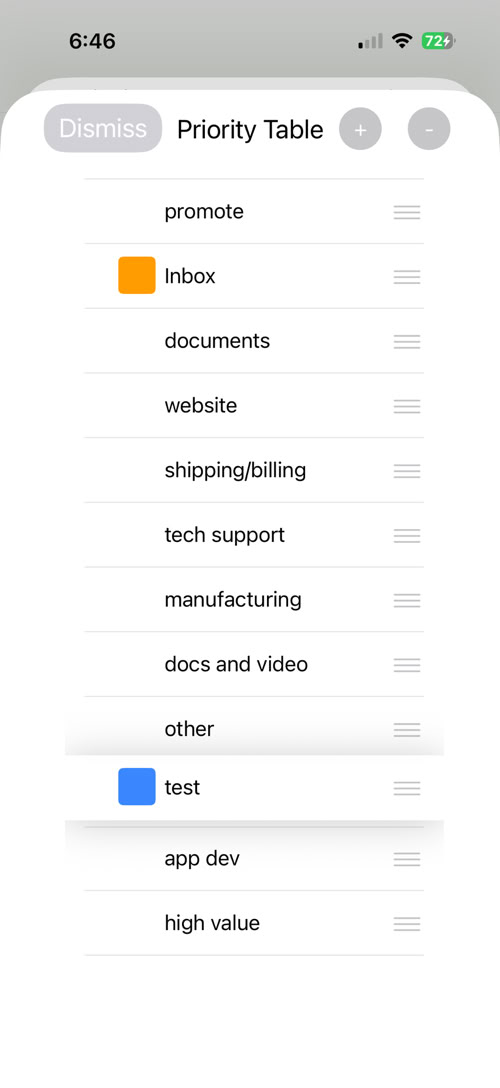
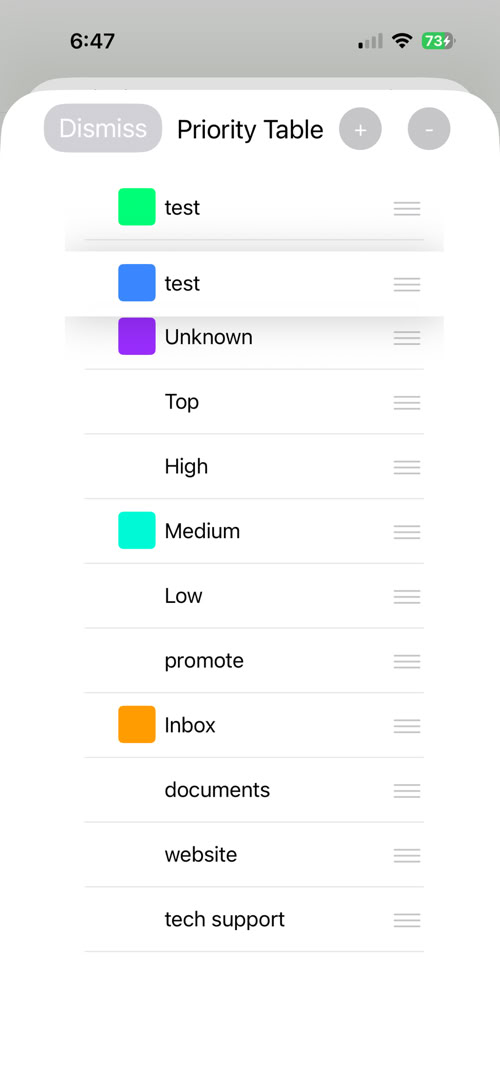
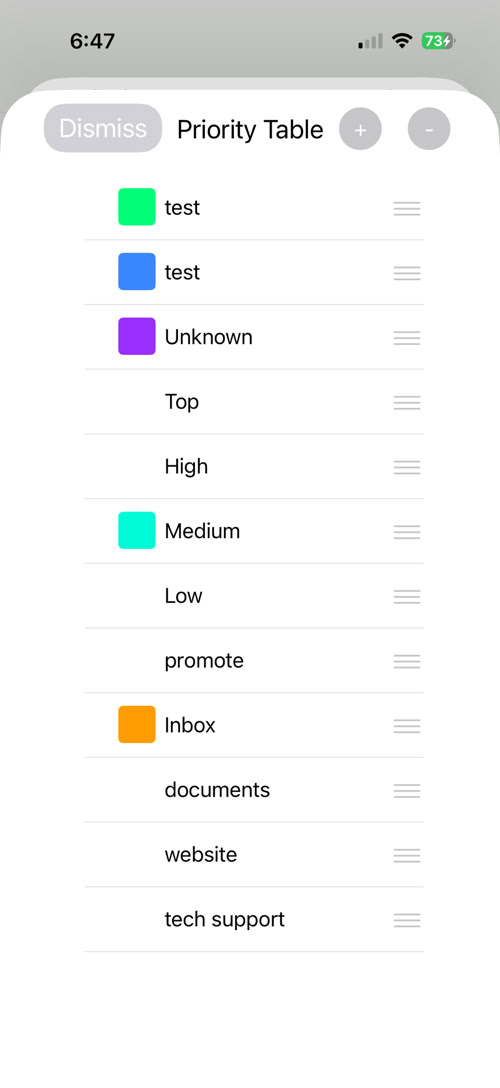
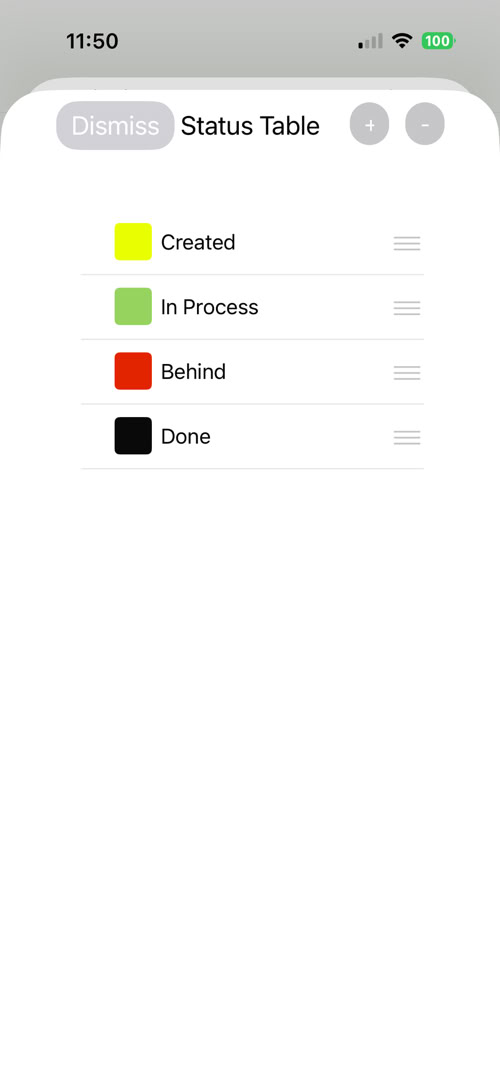
The process for updating the status table is the same. Here are some sample screens:
Tag Entry Improvements
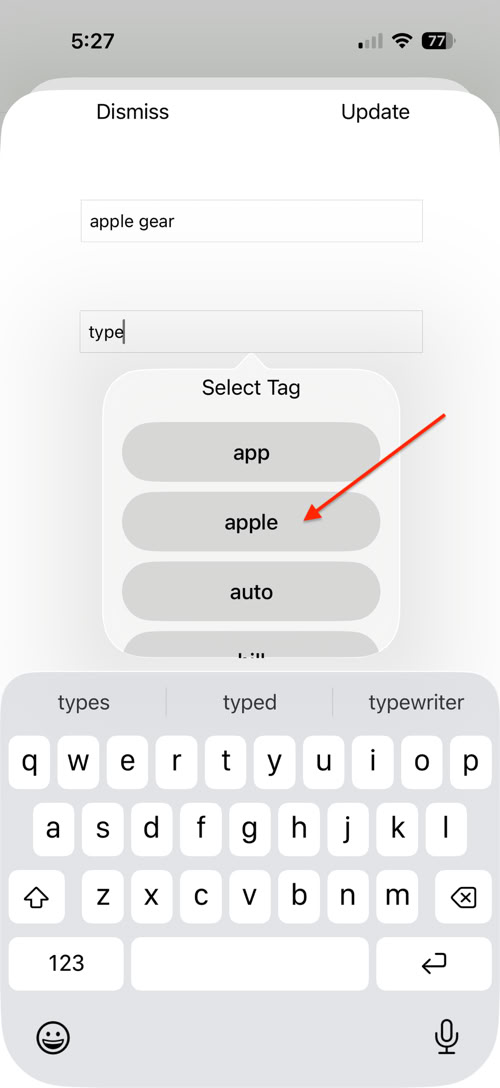
The tag table is a little different. It. allows for add and update and also a short cut for assigning tag type if the tag type already exists but does not include color
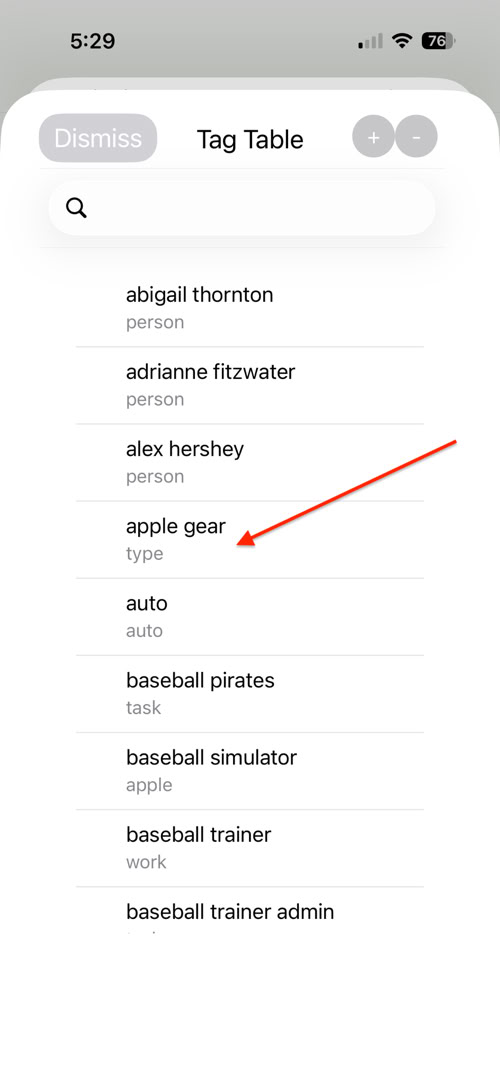
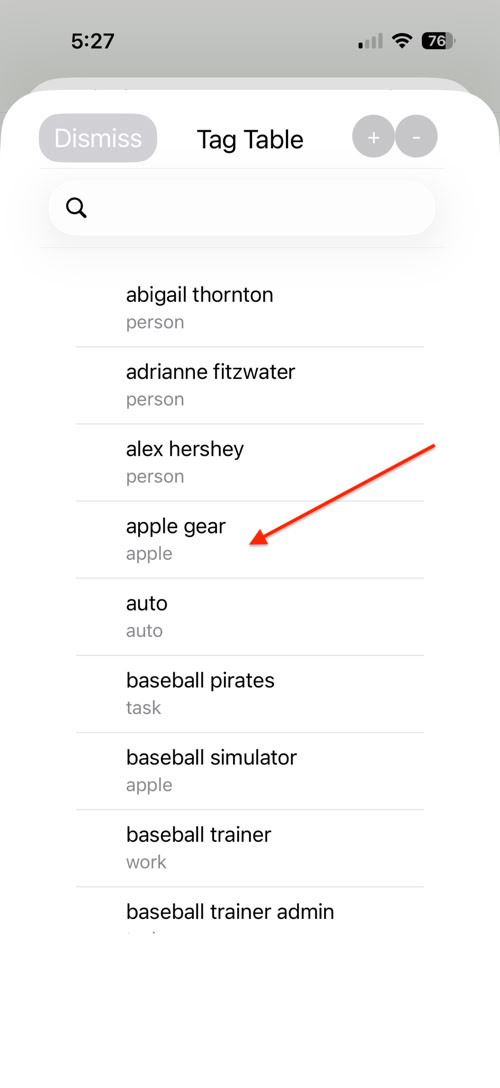
When you touch on the ‘View Tag Table’ link, you see them in this format instead:
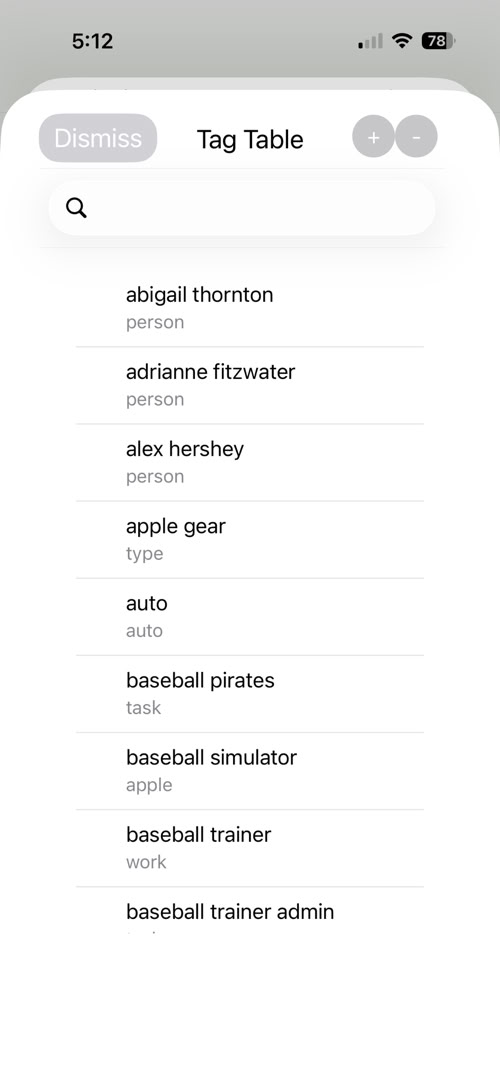
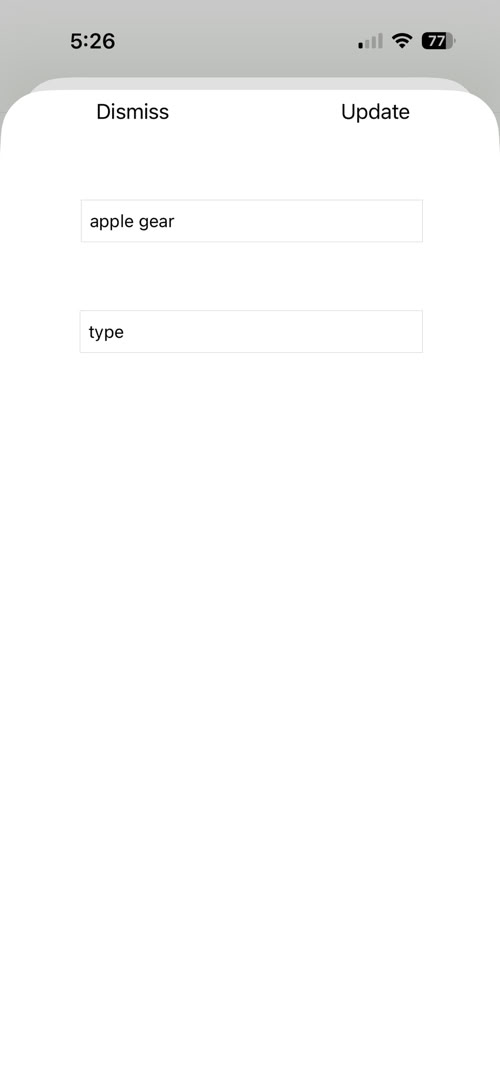
The list shows the tag name in large fond and the tag type in a smaller font below the tag name. Adding a tag type by pressing the plus button brings up a screen like this:
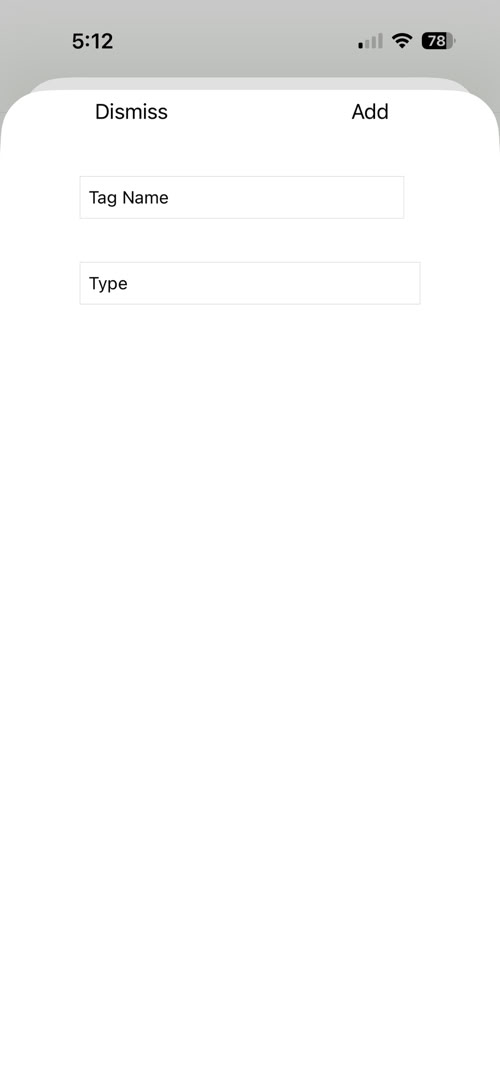
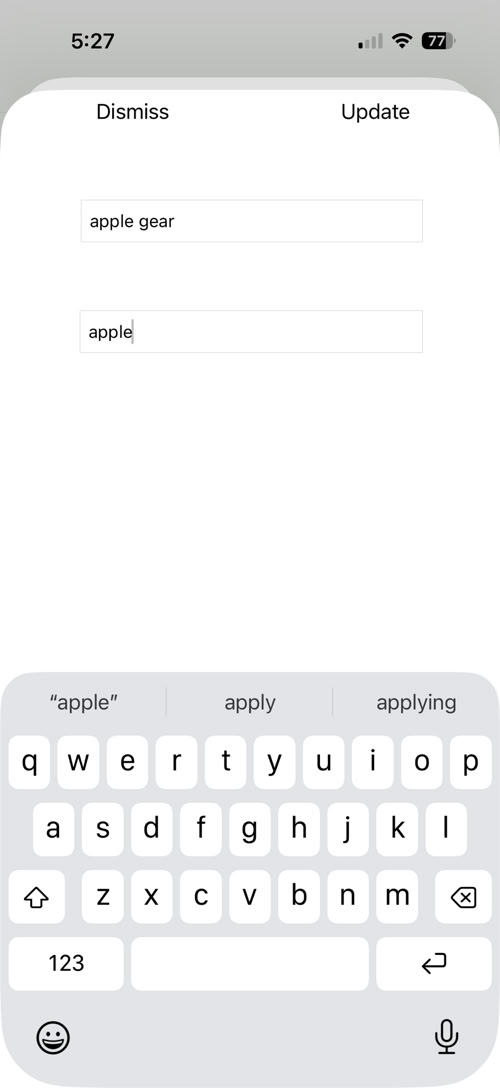
The list shows the tag name and the tag type. Adding a tag type by pressing the plus button brings up a screen like this and if you select one of the entries from the scrollable list, it will appear in the tag type of the new tag.
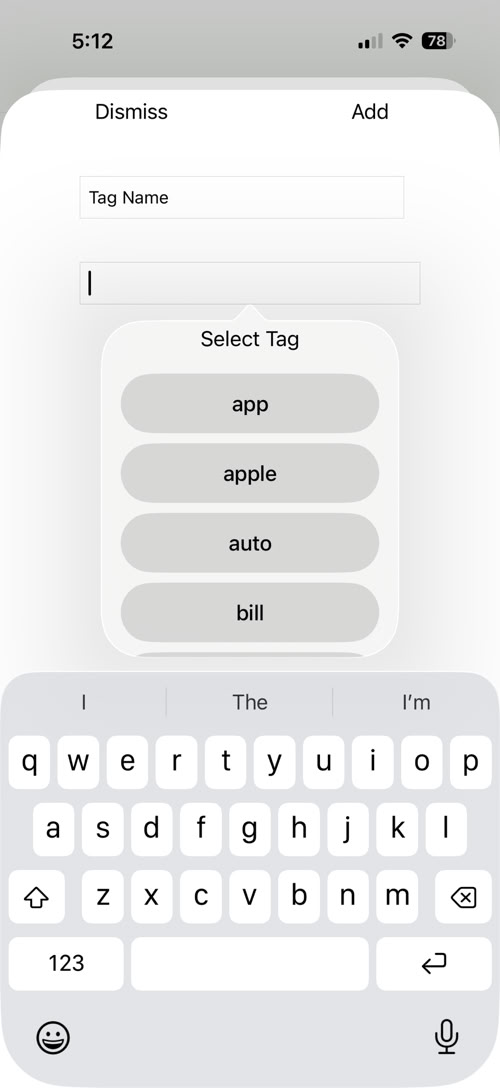
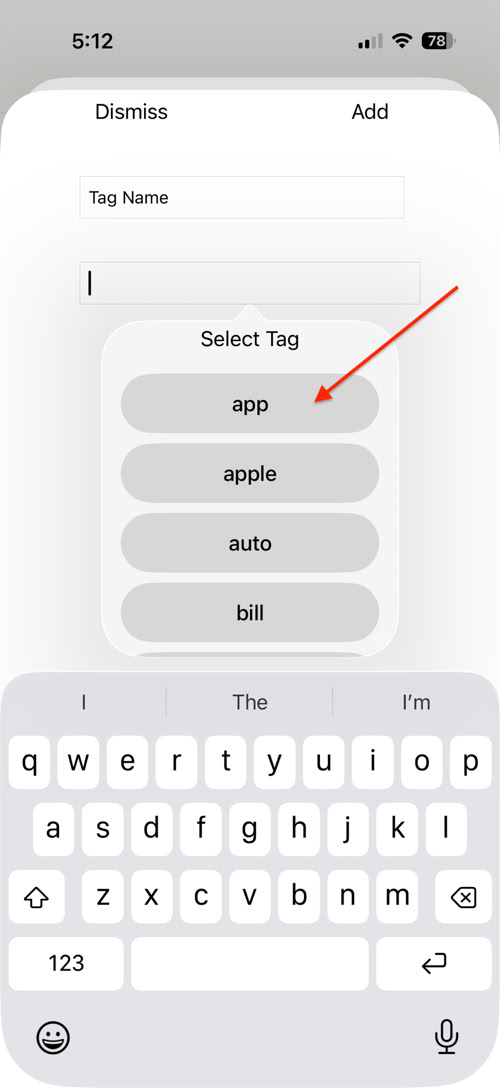
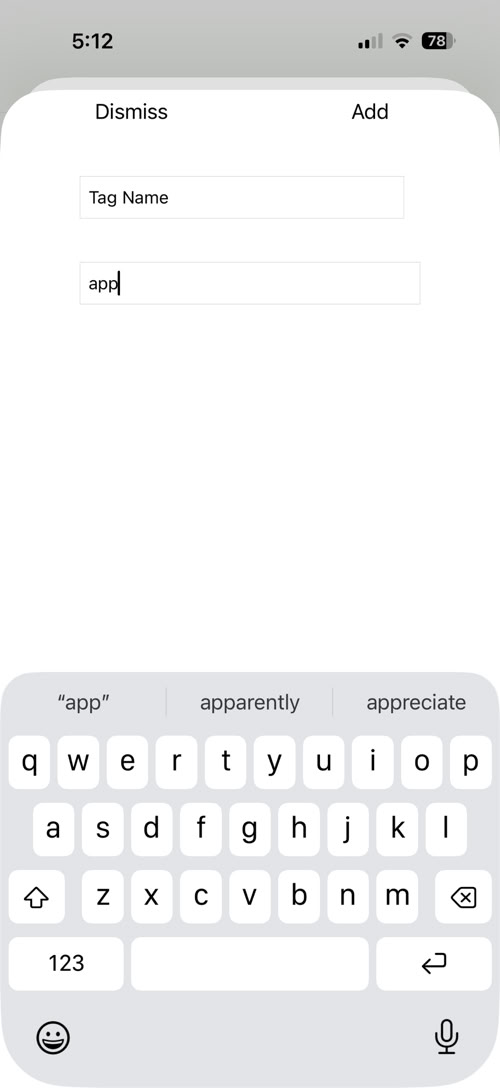
The new tag will show alphabetized into the list. There is also an update function which works the same way. Find the item you wish to update and long press (1/2 second) on the entry. This will bring up the update screen which allows you to change the tag name and type.
Cloud vs Local Database Check
Finally, this new version of the app give the user a way to check between what data is in iCloud vs what is local on their iOS device with a single debugging screen. The new process can be accessed via the setting tab. This is used to determine if an Apple sync problem is occurring and if other measures are needed such as clearing and reloading the database or uninstalling/reinstalling the app.
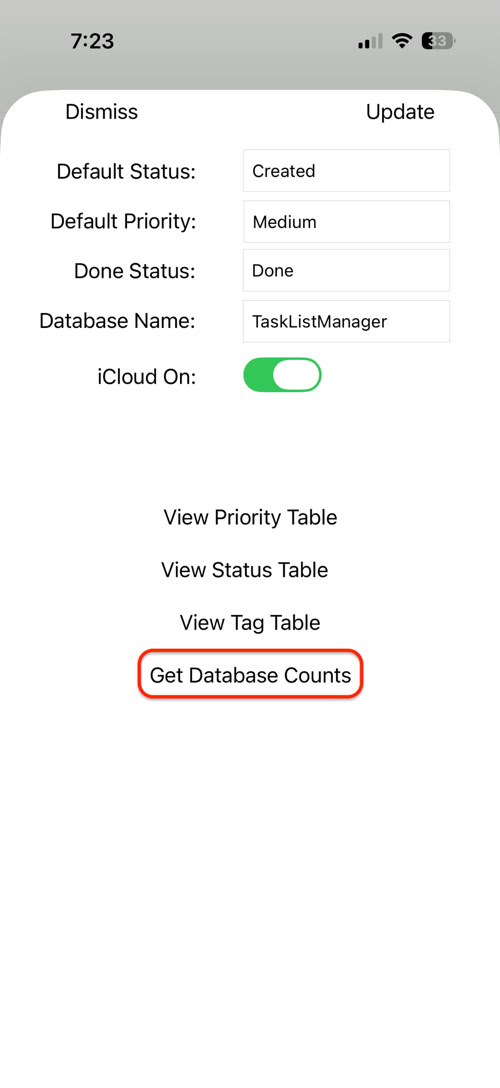
Tapping on 'Get Database Counts' reveals the count tally screen:
Tapping on 'Get Database Counts' reveals the count tally screen:
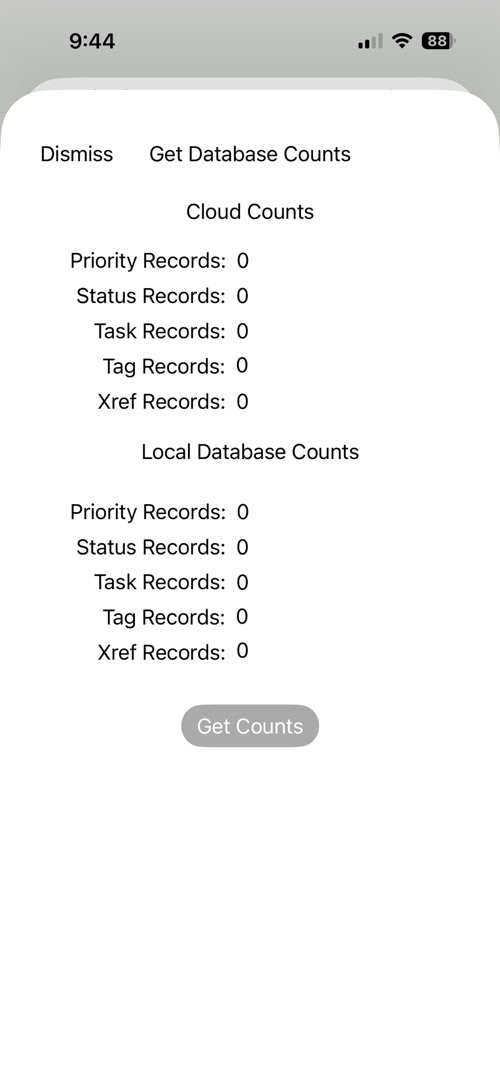
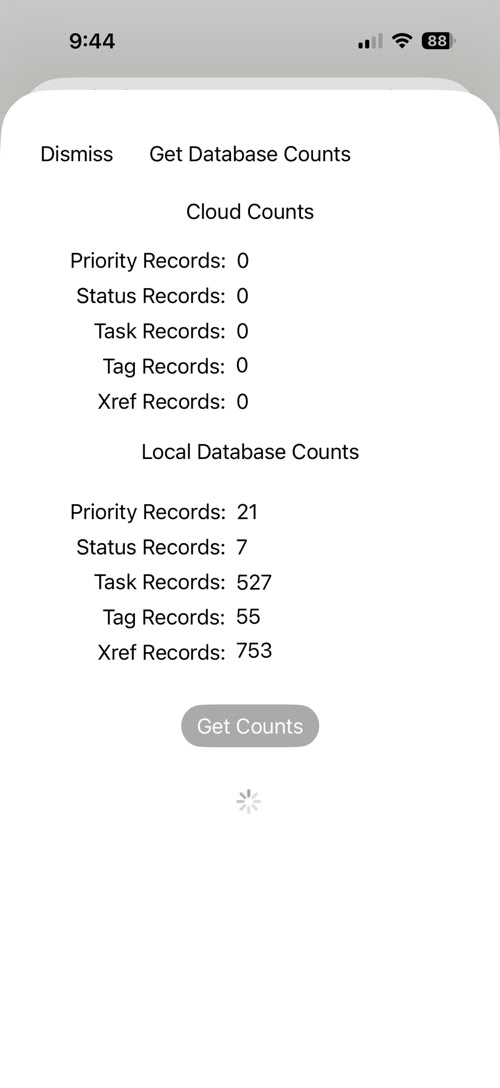
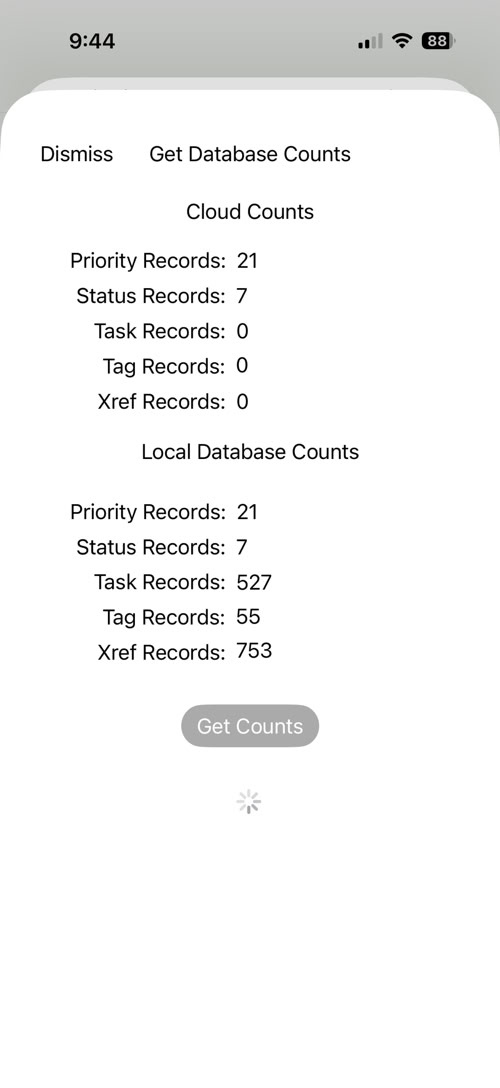
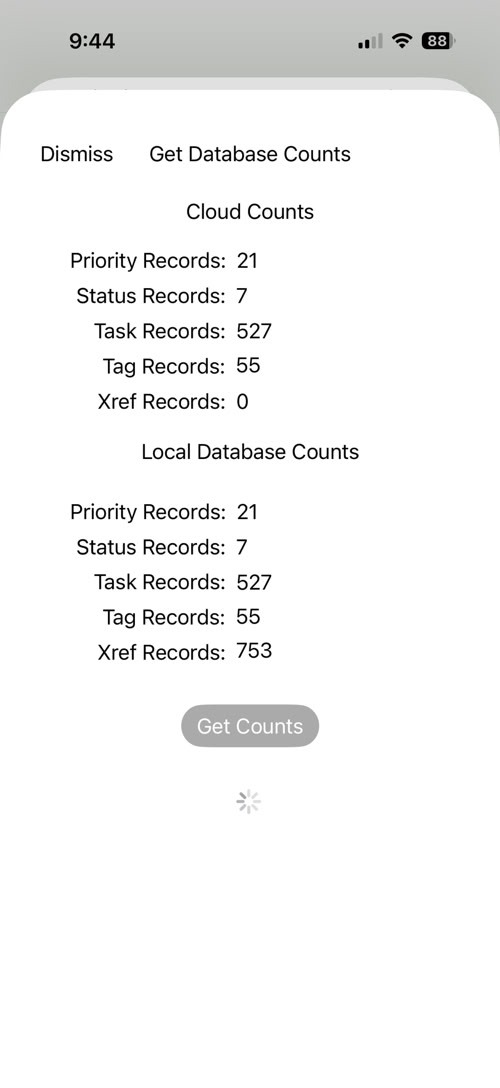
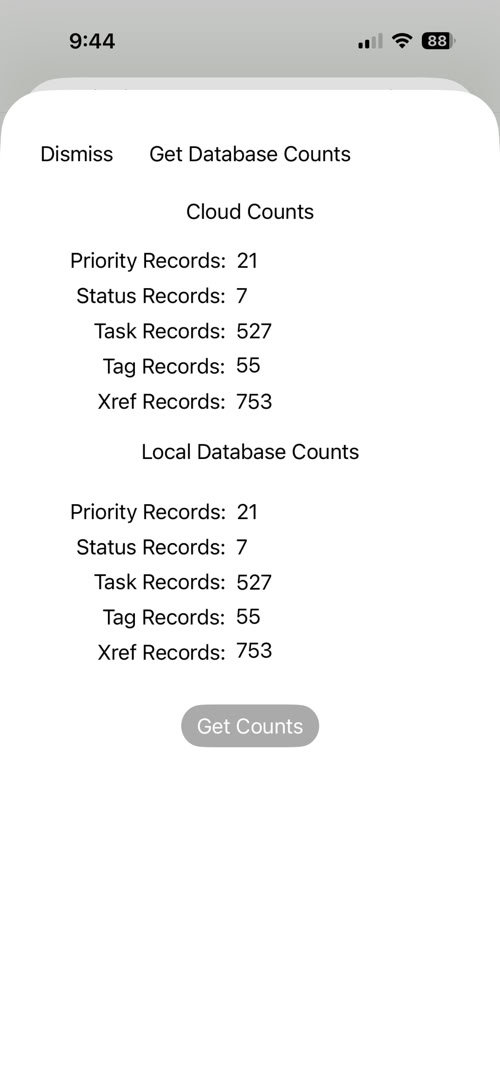
Pressing on 'Get Counts', starts the checking process. It proceeds as follows:
1: local counts will appear first as the spinner spins
2: iCloud counts will appear one at a time in the upper part of the display
3: after all iCloud counts appear, the spinner will disappear and the process is completed